Getting Started With Platform IO
Platform IO is a command line tool as well as a Visual Studio Code extension useful for embedded development.
Installation
- Install Visual Studio Code (free, open source text editor)
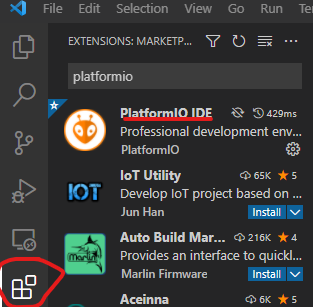
- Inside VSCode, click the extensions button and search for
“Platform IO” - Click
Install - The extension will ask you to reload your editor. Click reload (or close and reopen)
- (optional) Install C/C++ extension (useful for code linting)
Toolchain Setup and Example Project
Install Platform
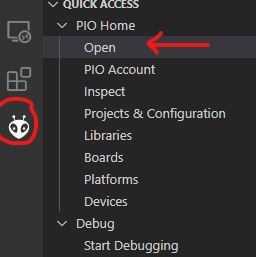
- Click on the Platform IO button on the left bar and click
PIO Home->Open - Click on
Platformson the left PIO bar - If it says no results found, you are in the
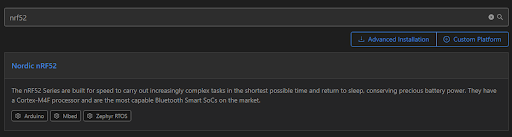
“Installed”tab. Click on“Install embedded platform” - Search for your platform there, for example
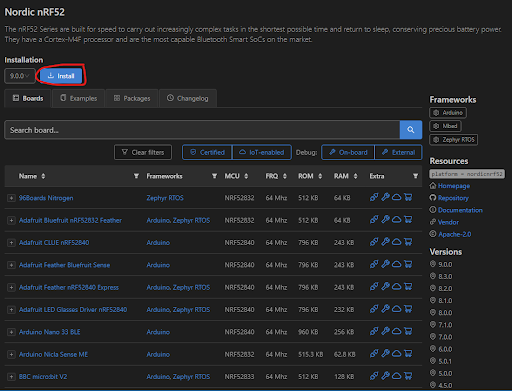
nRF52 - Find the correct entry, select it and click
Install
Install Toolchain
- Click on
Homein the left PIO bar - Click
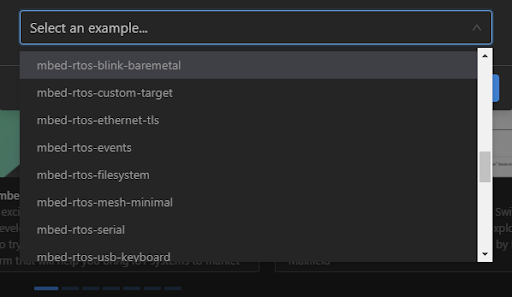
Project Examples - Select an appropriate example for your platform (eg
nRF52) using your preferred framework (egmbed)
Configure Project
In the file platformio.ini you can find the settings for building and uploading your project. You can find all the available configuration options in the official documentation.
You might need to change a few of the options according to your specific board and framework:
- In the PlatformIO website, find your board on this page.
- In the
Configurationsection, you can see the exact platformio.ini config you need to have - In the
Uploadingsection you can find a list of available upload protocols that are supported for your board. The default is probably fine - In the
Debuggingsection, you can see a the supported options for hardware debugging - In the
Frameworkssection, you can see the available frameworks that are supported
Building and Uploading Binaries
The bottom bar has a few shortcuts for performing some basic operations. Hover your mouse over each icon to see what it does.

You can build your project using the check button, and upload it to your board using the right arrow button. The wall plug button opens a serial terminal so you can communicate with your board over the Serial interface.
Troubleshooting
If the uploader does not find your board, or if you have multiple devices, click on Devices on the left PIO bar. If you can see your device there, copy the port it is connected to and set upload_port = <your_port> in the file platformio.ini.
All of the boards and upload protocols I’ve tested work out of the box on Linux. If you are using Windows, some drivers might not be installed by default. The easiest way to install those drivers is to use the Zadig tool.